From Ryzom Forge Wiki
| (3 intermediate revisions by 2 users not shown) | |||
| Line 1: | Line 1: | ||
| − | {{tabLang|EN|Texturen|Textures| | + | {{migrated to|:en:textures}}{{tabLang|EN|Texturen|Textures|Texturas ambientales|Textures environnementales|Текстуры}} |
| − | = Environmental | + | {{ToTrad|ES|ES traducción, por favor.}} |
| + | {{ToTrad|RU|RU перевод, пожалуйста.}} | ||
| + | |||
| + | == Environmental Textures conception and preparation == | ||
" Tutorial not yet finished " | " Tutorial not yet finished " | ||
| Line 7: | Line 10: | ||
The environmental textures are those used in the 3D modeler (at the moment 3DSMax) on the quadpatches serving to represent the environment (ground and natural reliefs). They have to be created under a very precise format and then prepared inside a tileset (an ensemble of tiles with similar textures) which are regrouped in a "tilebank", allowing the creation of a complete environment for a continent type. | The environmental textures are those used in the 3D modeler (at the moment 3DSMax) on the quadpatches serving to represent the environment (ground and natural reliefs). They have to be created under a very precise format and then prepared inside a tileset (an ensemble of tiles with similar textures) which are regrouped in a "tilebank", allowing the creation of a complete environment for a continent type. | ||
| − | == Creating the pictures == | + | === Creating the pictures === |
The tiles need to be 128x128 pixels OR 256x256 piexels exactly. They absolutely must respect some content constraints: the top and bottom pixel bands have to be identical for a whole tileset, as must be the right and left bands. This allows the system to superimpose those borders so they are only one pixel in the rendering. | The tiles need to be 128x128 pixels OR 256x256 piexels exactly. They absolutely must respect some content constraints: the top and bottom pixel bands have to be identical for a whole tileset, as must be the right and left bands. This allows the system to superimpose those borders so they are only one pixel in the rendering. | ||
| Line 61: | Line 64: | ||
| − | == Create the tilebank == | + | === Create the tilebank === |
A Tilebank is a set of tilesets (usually linked to an ecosystem), a group of tiles presenting a particular type of surface. It's with those that we paint the ground. | A Tilebank is a set of tilesets (usually linked to an ecosystem), a group of tiles presenting a particular type of surface. It's with those that we paint the ground. | ||
| Line 75: | Line 78: | ||
<pre>W:\Database\landscape\_texture_tiles\</pre> | <pre>W:\Database\landscape\_texture_tiles\</pre> | ||
| − | === Create the first type of terrain === | + | ==== Create the first type of terrain ==== |
Click on "Add land" | Click on "Add land" | ||
| Line 103: | Line 106: | ||
| − | === Create a second type of terrain === | + | ==== Create a second type of terrain ==== |
Click on "Add tile set" to have a second model of terrain for this example. You should add as many as you need in your ecosystem. | Click on "Add tile set" to have a second model of terrain for this example. You should add as many as you need in your ecosystem. | ||
Name this terrain (see the [[Conventions_de_nommage|Conventions de nommage]]) from its aspect, it will be easier to keep it sorted, "moss" in our example and click ok, like the one before. | Name this terrain (see the [[Conventions_de_nommage|Conventions de nommage]]) from its aspect, it will be easier to keep it sorted, "moss" in our example and click ok, like the one before. | ||
| − | === Attributing textures to the Tilesets === | + | ==== Attributing textures to the Tilesets ==== |
Select a Tileset ("grass" in our example) and do "Edit tileset" | Select a Tileset ("grass" in our example) and do "Edit tileset" | ||
| Line 122: | Line 125: | ||
[[File:tile_bank_manager_add_bank.png]] | [[File:tile_bank_manager_add_bank.png]] | ||
| − | ==== Diffuse textures ==== | + | ===== Diffuse textures ===== |
We will start by adding textures of the Diffuse type, 128x128: we therefore select those two options in Texture and in Tiles. | We will start by adding textures of the Diffuse type, 128x128: we therefore select those two options in Texture and in Tiles. | ||
| Line 137: | Line 140: | ||
""Note:"" We can then add additive textures the same way, but I've not found yet how to use those textures. I've seen some used to represent the burning branches of the Flamming Forest of Ryzom, but I don't know their theoretical use. | ""Note:"" We can then add additive textures the same way, but I've not found yet how to use those textures. I've seen some used to represent the burning branches of the Flamming Forest of Ryzom, but I don't know their theoretical use. | ||
| − | ==== Transitional textures ==== | + | ===== Transitional textures ===== |
Once those textures are saved, we can add transition textures, which will allow visually pleasant transitions between the various materials. | Once those textures are saved, we can add transition textures, which will allow visually pleasant transitions between the various materials. | ||
| Line 153: | Line 156: | ||
| − | ==== Displacement textures ==== | + | ===== Displacement textures ===== |
We can add Displacement tiles if we wish, but it's not a must (and I'm not sure it's even implemented). | We can add Displacement tiles if we wish, but it's not a must (and I'm not sure it's even implemented). | ||
| Line 161: | Line 164: | ||
[[File:tile_bank_manager_add_displacement.png]] | [[File:tile_bank_manager_add_displacement.png]] | ||
| − | ==== Link the tilesets to effects of contact ==== | + | ===== Link the tilesets to effects of contact ===== |
Save it all, close it and come back to the "Tile bank manager" window. | Save it all, close it and come back to the "Tile bank manager" window. | ||
| Line 170: | Line 173: | ||
21 : dust | 21 : dust | ||
| − | ==== Use in 3DSMax ==== | + | ===== Use in 3DSMax ===== |
You then save the tilebank. You can now use it to texture terrains in 3DSMax with the right plugin. | You then save the tilebank. You can now use it to texture terrains in 3DSMax with the right plugin. | ||
| Line 180: | Line 183: | ||
[[File:nelpaintercheatsheet.jpg]] | [[File:nelpaintercheatsheet.jpg]] | ||
| − | + | {{In_Category|Textures}} | |
{{TPInWikiRyzom}} | {{TPInWikiRyzom}} | ||
[[Category:Tutorials]] [[Category: Graphic]] [[Category:3D]] [[Category: Textures]] [[Category: EN]] | [[Category:Tutorials]] [[Category: Graphic]] [[Category:3D]] [[Category: Textures]] [[Category: EN]] | ||
Latest revision as of 15:02, 17 January 2019
Migration
Please use the migrated document at URL shown below.
Contents
Environmental Textures conception and preparation
" Tutorial not yet finished "
The environmental textures are those used in the 3D modeler (at the moment 3DSMax) on the quadpatches serving to represent the environment (ground and natural reliefs). They have to be created under a very precise format and then prepared inside a tileset (an ensemble of tiles with similar textures) which are regrouped in a "tilebank", allowing the creation of a complete environment for a continent type.
Creating the pictures
The tiles need to be 128x128 pixels OR 256x256 piexels exactly. They absolutely must respect some content constraints: the top and bottom pixel bands have to be identical for a whole tileset, as must be the right and left bands. This allows the system to superimpose those borders so they are only one pixel in the rendering.
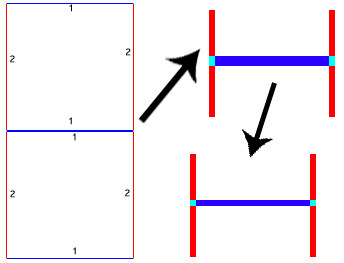
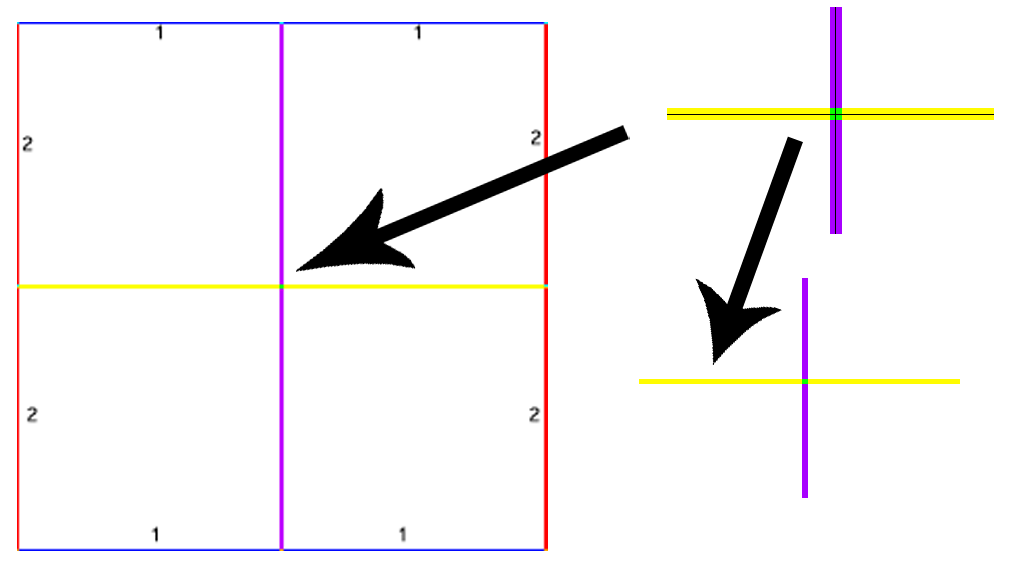
For the 256 textures, they have to be taken as a set of 4 128x128 tiles. It is therefore vital that the border be compatible with the 128 of the same tileset.
The center portions will have to be merged one with the other, as if they were 2 tiles of 128x128, so it's important to consider this in the motif (the two pixel lines in the middle will become a single one).
Example: starting with a high definition of a ground: [http:www.cgtextures.com/texview.php?id=5611&PHPSESSID=k872lvlfkds965i1un8a43o4b1 Gravel0031_1_L.jpg], taken from the excellent website [http:www.cgtextures.com cgtextures.com].
I reduce its size to a quarter to increase content and acutance of the small zones. I select 128x128 pixels, "ctrl+C/Ctrl+V > Paste as a new picture". I now have a 128x128 pixels picture.
I'll make the picture repeatable to avoid the visually shocking string that can happen when you serial paste it. Filters exist, but I'd rather control the string from begining to ending and explain it at length for this tutorial.
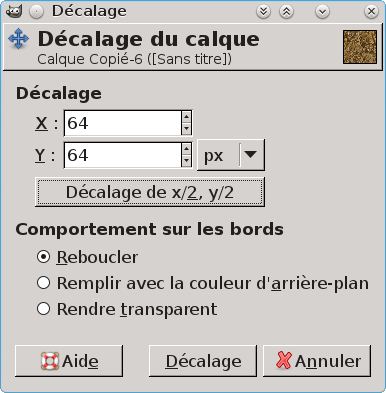
I do "Layer> Transform > Offset".
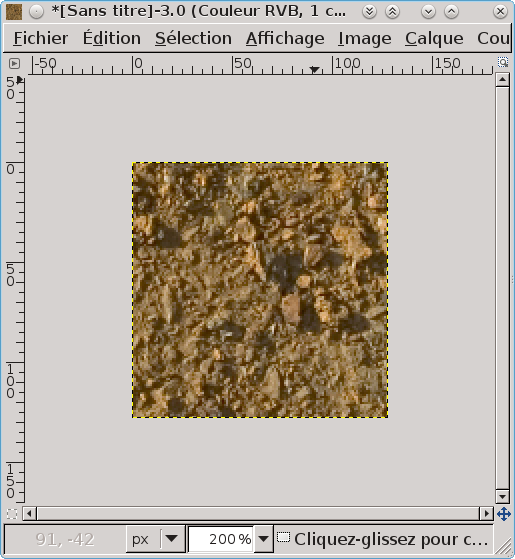
I get an offset of the picture starting from:
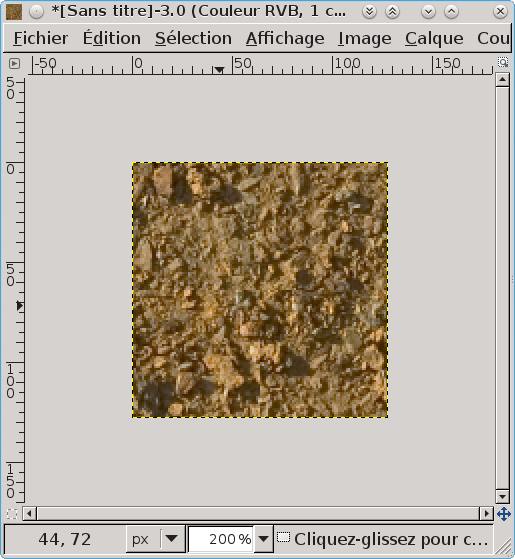
and we get:
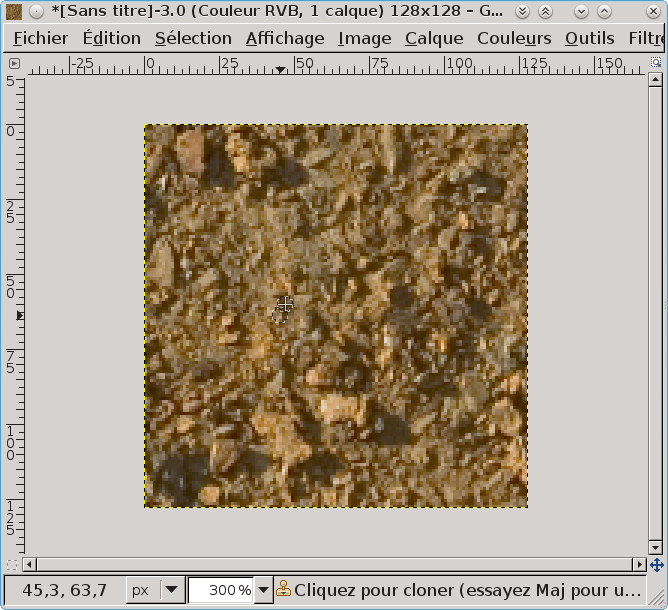
We can guess the junctions due to the offset in the middle parts of the picture, so I correct it with the "buffer" tool, for example, or by redrawing it manually the way I want it. I get:
We now can get a new "offset" to get back the original picture, but with new soft transitions at the borders.
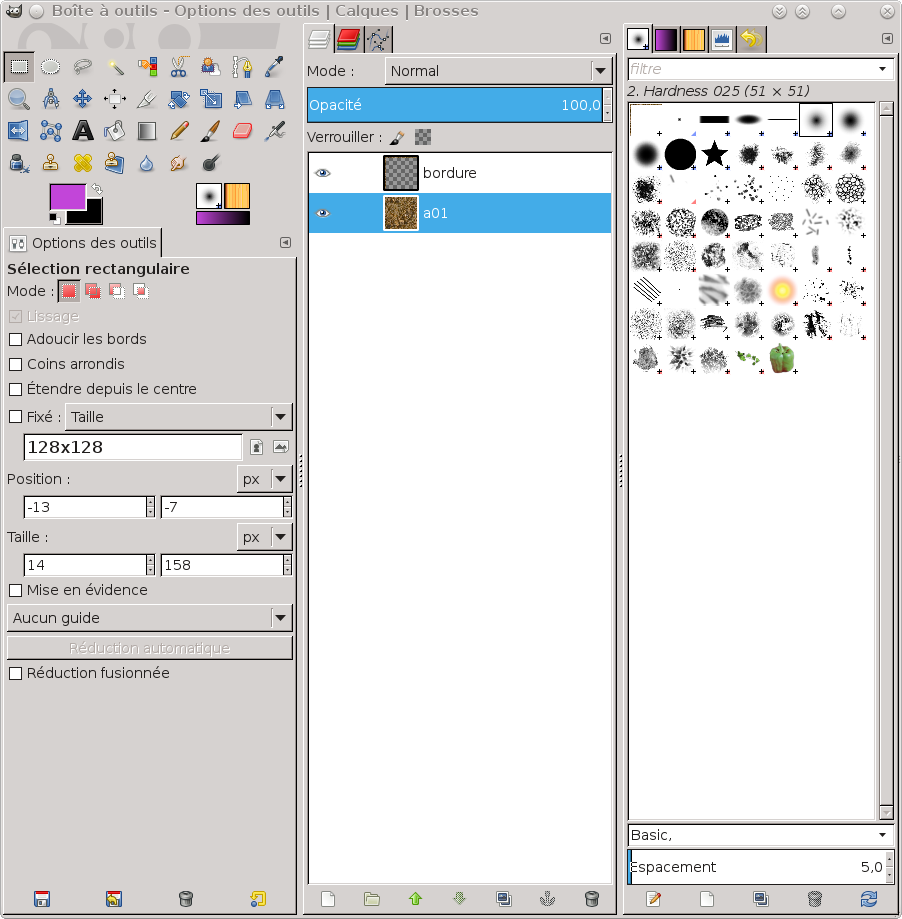
To be sure the borders fit perfectly, I select a 1 pixel band at the top and copy it at the bottom. I do the same with the left band, setting it to the right. Then I select a 1 pixel band around the picture and copy/paste it in a new layer I name "border".
It's this border I must keep for every picture. I can now make different selections of my reference picture and copy them in a layer under that border, apply to them the same treatment as I did to the first picture and each time export the result in a different uncompressed tga, respecting the naming conventions for the pictures of a tileset: [NAME]<now can be organised in subparts to be defined: by region, by surface (ground/walls), by type of soil...
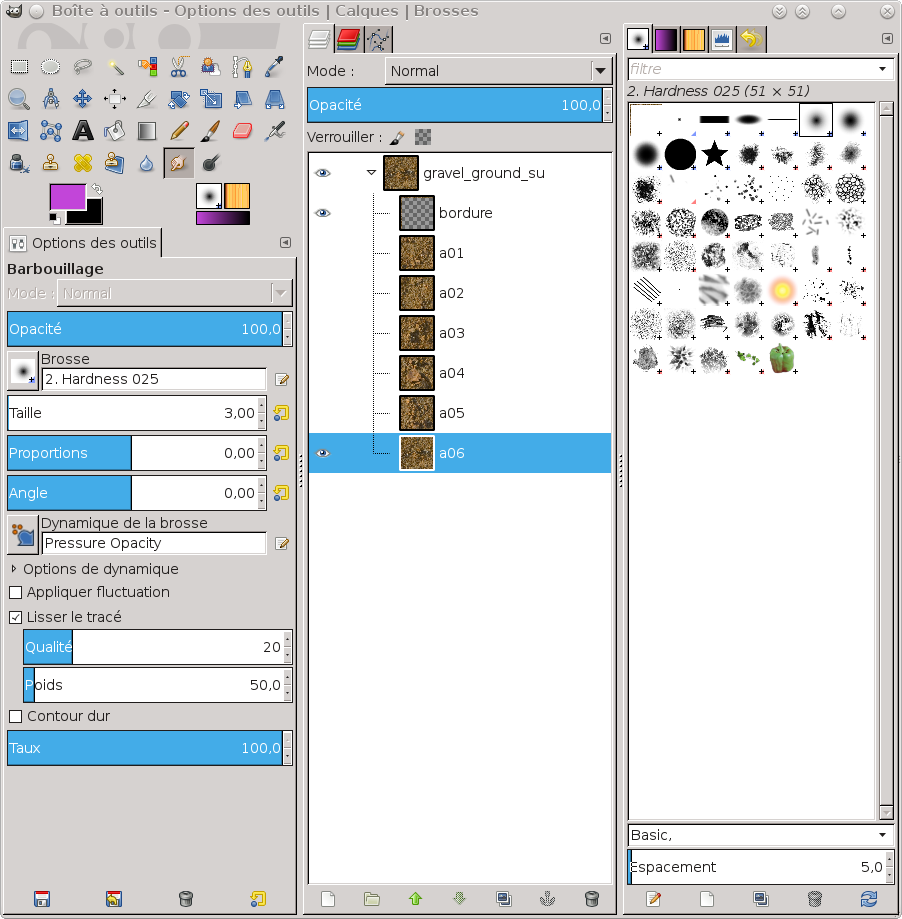
I save my gimp file with the layer name named by the number of the first tile of the string:
I repeat the import operation with several soils and each time, I offset them and make sure the junction with the border layer is soft enough. I name each layer in relation with the [ID] number of the corresponding TGA so I can easily find or modify the source. This is even more important when I amek tiles for a different seaons, changing the colors, adding details or anything. It is good to create at least 4 to 6 128x128 tiles for a tileset. It allows for different rendering. For commodity, I put all the first tilels in a layer file with the name and specificities of that particular string:
Create the tilebank
A Tilebank is a set of tilesets (usually linked to an ecosystem), a group of tiles presenting a particular type of surface. It's with those that we paint the ground.
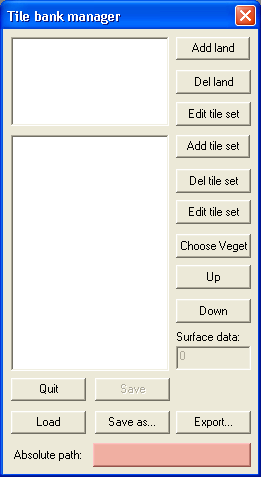
Start the TileBank creation software. It's the software tile_edit_r.exe (Windows only) on [http:ryzomcore.atlassian.net/wiki/display/RC/Downloads+for+Windows|NelTools] to be downloaded and installed.
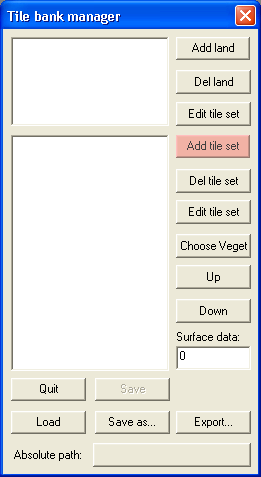
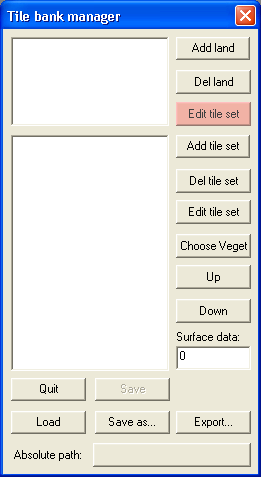
Left click on the button besides "Absolute path"
Change the path for the path of the texture tiles. If you start from a RyzomCore install, it should be:
W:\Database\landscape\_texture_tiles\
Create the first type of terrain
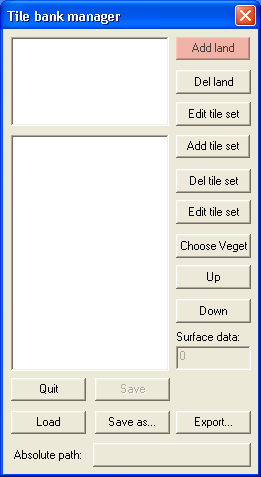
Click on "Add land"
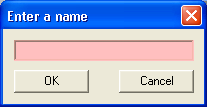
Name the land as you wish (an ecosystem's name seems better), "ashtarie" in our example
and click "OK".
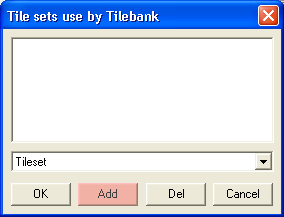
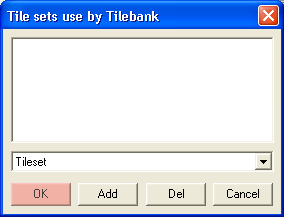
Click on "Add tile set"
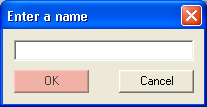
Name this terrain (see the Conventions de nommage) from its aspect, it will be easier to keep it sorted, "grass" in our example
click OK.
Create a second type of terrain
Click on "Add tile set" to have a second model of terrain for this example. You should add as many as you need in your ecosystem.
Name this terrain (see the Conventions de nommage) from its aspect, it will be easier to keep it sorted, "moss" in our example and click ok, like the one before.
Attributing textures to the Tilesets
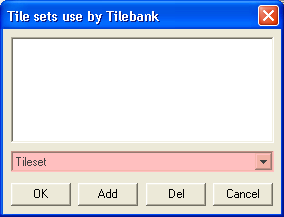
Select a Tileset ("grass" in our example) and do "Edit tileset"
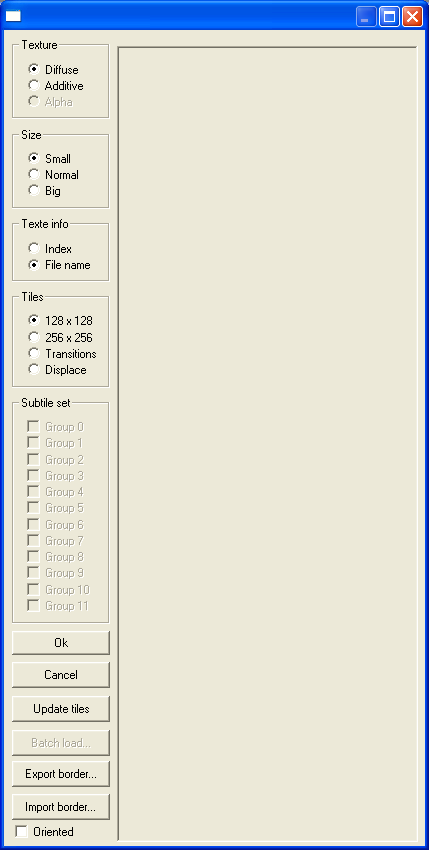
A new window will appear, allowing you to add new pictures to this tileset. We can see several fields:
- Textures": allowing you to indicate the kind of texture, diffuse or additive (alpha can't be picked)
- "Size": influences the size with which the texture will be used in the edition tool
- "Text info": allowing you to show the index number or the name of each picture under it to the right
- "Tiles": indicates which type of tiles it is: their size for the shown texture or if they are transition textures (tiles with an alpha permitting the transition between tilesets) or Displace tiles (visually alterating the ground's geometry to make it less plain).
Diffuse textures
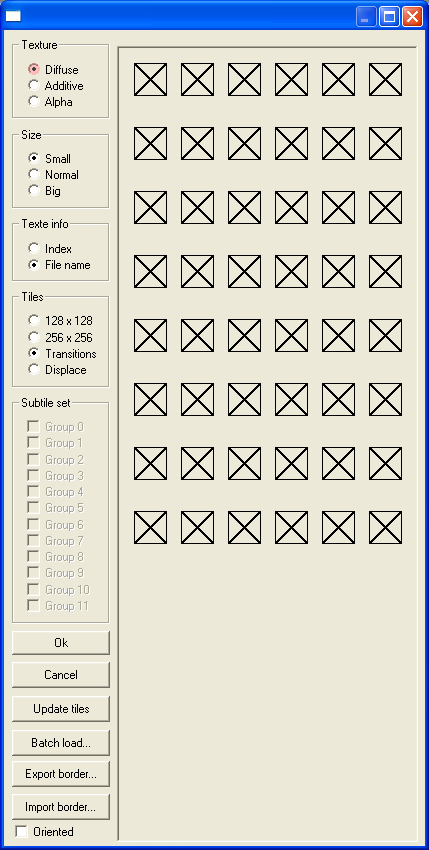
We will start by adding textures of the Diffuse type, 128x128: we therefore select those two options in Texture and in Tiles.
Right click into the empty space to the right and select "Add"
Navigate to the place where the tiles from that string will be kept (non compressed TGA), select them all and validate. They will be added. Do the same for the 256x256 textures that are also of the Diffuse type: select the two options, right click and select "Add", then add files.
""Note:"" We can then add additive textures the same way, but I've not found yet how to use those textures. I've seen some used to represent the burning branches of the Flamming Forest of Ryzom, but I don't know their theoretical use.
Transitional textures
Once those textures are saved, we can add transition textures, which will allow visually pleasant transitions between the various materials.
Select "Texture > Diffuse and Tiles > Transition"
Select each of the texture in the window to the right, "right-click > Replace" and choose randomly another texture from the same string.
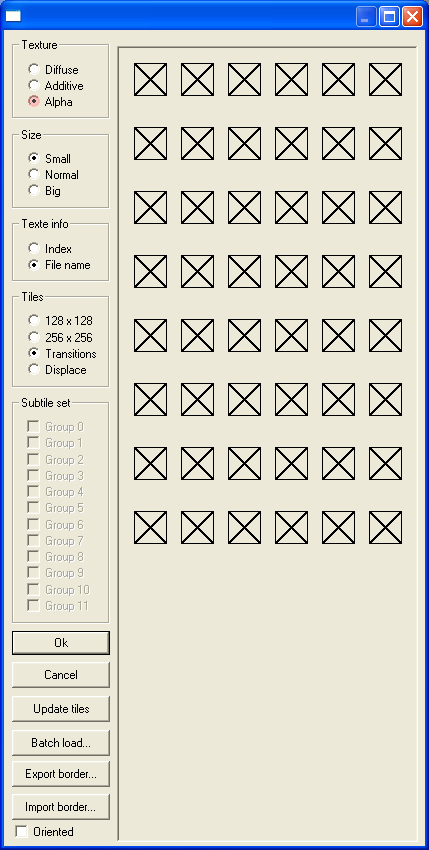
Select "Texture > Alhpha" and "Tiles > Transition"
"Right-click > Batch load" and go the the file "Transitions" (if you use the graphic datas from RyzomCore) and choose "alpha_noise_00.tga", click "ok". A window will ask if you wish to use the alpha tile rotation, accept.
Displacement textures
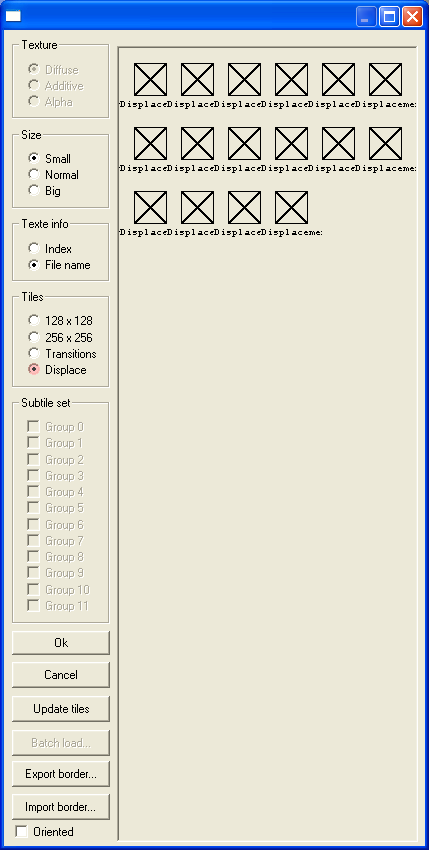
We can add Displacement tiles if we wish, but it's not a must (and I'm not sure it's even implemented).
Select "Tiles > Displace" and fill at least 6 squares with textures in levels of grey which will be used to deform the terrain.
Link the tilesets to effects of contact
Save it all, close it and come back to the "Tile bank manager" window.
Select your tileset and write in "Surface data" the surface number of that texture. Those numbers change the sounds and particles used when soomeone walks on this tileset.
In RyzomCore, we know that : 12 : grass 21 : dust
Use in 3DSMax
You then save the tilebank. You can now use it to texture terrains in 3DSMax with the right plugin.
In 3DSMax, once a quadpatch of 160x160m has been created, it's ready to receive textures. You then have to apply the Modifyer "Nelconvert", then "NelEdit", and finally, "Nel Painter".
Go into the Tool tab, choose "Nel Tile Bank" and chose the tilebank you wish.
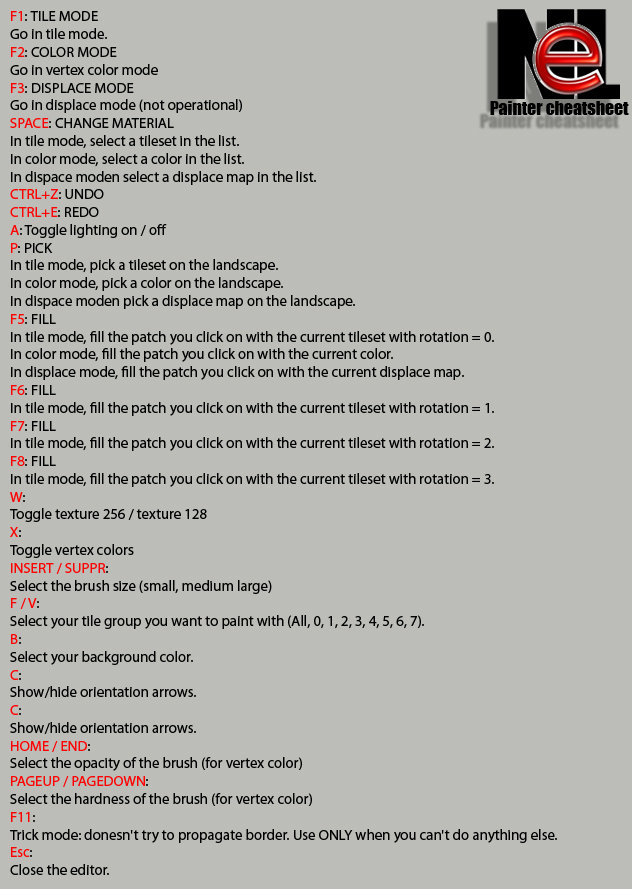
Come back to the Modifier menue, choose "Top" in the viewport and click on "Paint". The commands required to manage the application of the textures are the following:
8 pages in Textures
